Perhaps the most impressive and beneficial aspect of Xporter Pro which can save you literally hours of wasted unproductive time is the fact that you can create multiple Batch configurations for both Exporting and Printing then save them so they can be scheduled as a task to run after hours.
When the scheduled task runs it will automatically open a session of Revit, open the project file, systematically start generating the export file formats and physical prints based on your settings held in the configuration files, and then close the Revit session when completed.
This of course means that all of these processes can be done simultaneously by Xporter Pro after hours so that you don’t need to have your machine tied up during normal working hours waiting for such operations to be performed.
After the scheduled tasks have been completed then the digital export files will be available for you in the designated output folders and physical prints will be sitting on your printers when you arrive at work the following day.
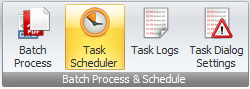
On the ribbon you will find the Batch Process & Schedule panel which contains the tools to display the corresponding palettes to the right of the main user interface.
Task Scheduler
You must first of all create your Batch Process configuration files first in order to be loaded and set as a Scheduled task.
Click the Task Scheduler button from the ribbon or click the Task Scheduler Palette from the right of the main user interface.
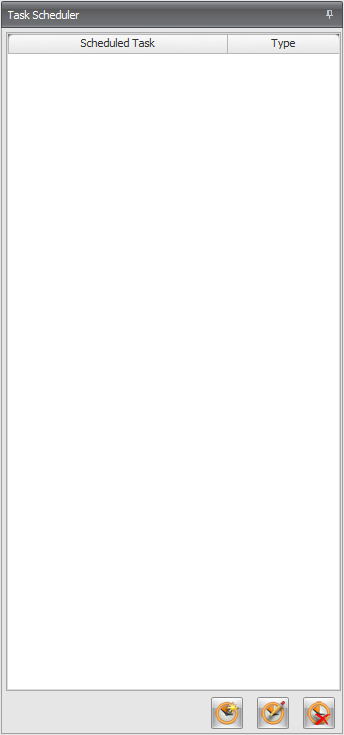
![]() Create Scheduled Task: Launches the Create Scheduled Task dialog box. Once a task is saved it will appear listed in above main window.
Create Scheduled Task: Launches the Create Scheduled Task dialog box. Once a task is saved it will appear listed in above main window.
![]() Edit Scheduled Task: Launches the Edit Scheduled task dialog box.
Edit Scheduled Task: Launches the Edit Scheduled task dialog box.
![]() Delete Scheduled task: click to delete selected scheduled task from the list above.
Delete Scheduled task: click to delete selected scheduled task from the list above.
Create a new Scheduled Task by clicking the Create Scheduled Task button to launch the Scheduler Dialog Box and then configure settings accordingly.
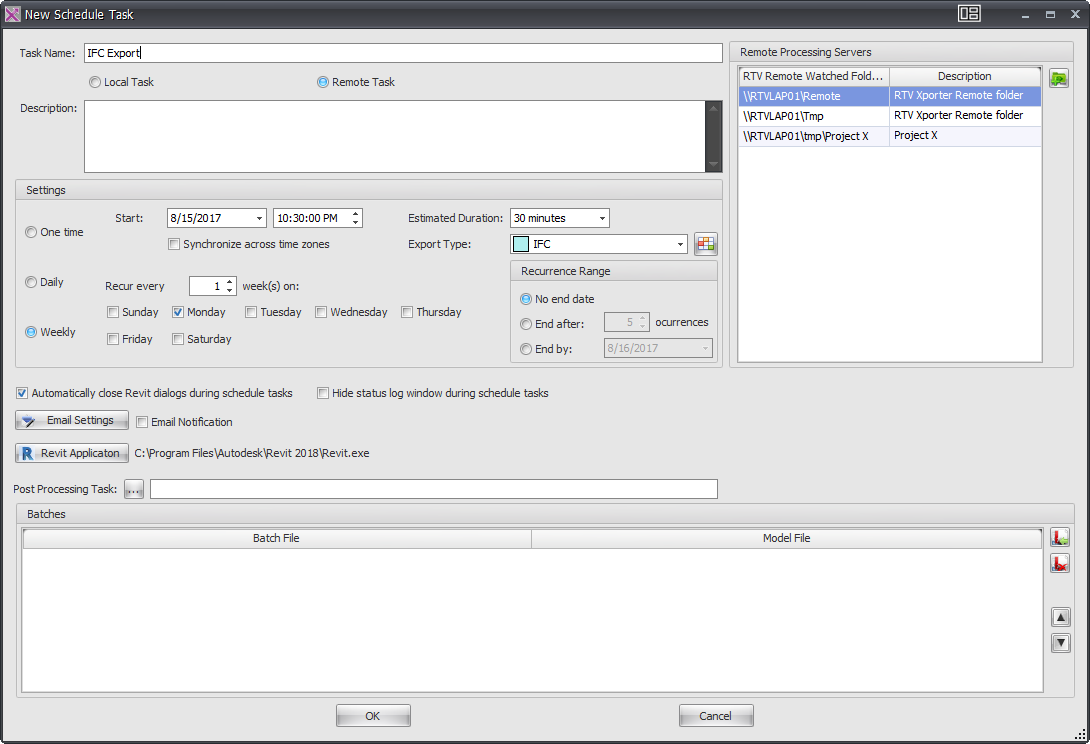
Give the New Task a name and define whether it is being run as a Local Task or a Remote Task (which will activate the Remote Processing Server panel if selected).
Settings Panel: Contains the options for selecting the Task run time. Choose from One Time, Daily, Weekly or Monthly and ir required to Synchronize across time zones or not.
Email Settings: If you would like to receive notification emails for the current task tick the Email Notification check box and he configure the Email Notification Settings dialog box with required settings for your company.
Revit Dialogs: During the course of performing the required operations Revit may encounter various Dialog boxes that require manual input before proceeding any further. As such by default the ‘Automatically close Revit dialogs during schedule tasks’ checkbox is ticked (recommended). You can cater for specific Dialog boxes and define an automated response using the Task Dialog Settings
Revit Application: Required to define correct version of Revit Application to be used for the scheduled task should you have more than one version of Revit installed on your system.
Post Processing Task: You can use this option if required to define post process applications to be used such as Launching DWF /PDF viewers to view resulting exported files
Batches: Displays a list of Batch Process configuration files (.xml files) to be run under the current Scheduled Task. Note: You can load as many batch Process Configurations under the one task as you like and they will be processed in sequential order as listed.
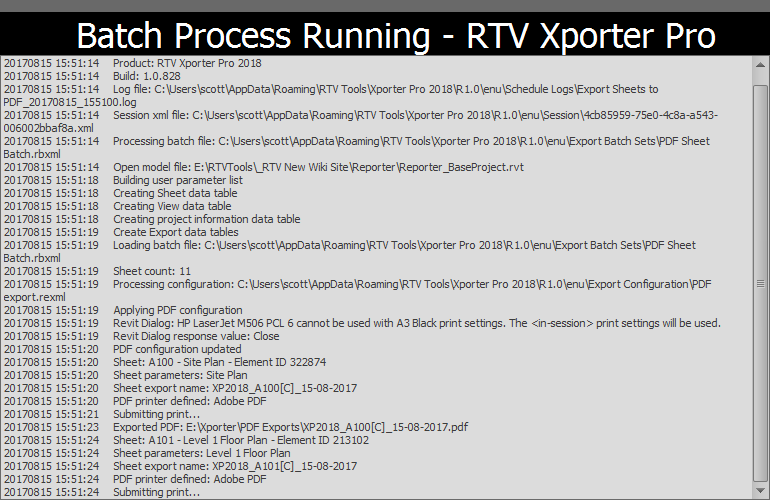
When a Scheduled Task is triggered you would see a Batch Process running dialog box as shown below.
Xporter Pro will also capture any activity by generating Task Log files that can be viewed via the Task Log Palette.
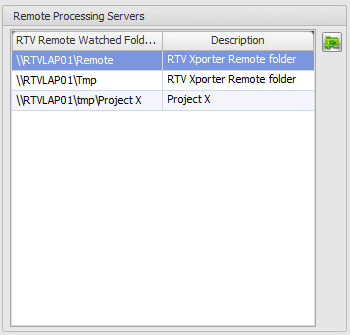
Remote Processing Servers
If selected this window will display a list of loaded configurations listing the available remote folders to be used by the Remote Processing Server. Note: this panel will only be available and active if the Remote Task option is selected.
Select the Load Remote Folder Configuration File button and browse to select the .XML file created from the remote server
The available remote folders are listed in the window where you can select the output folder that will be used for this remote task. Complete the schedule task settings, date time, batch files to process, as per above and the task will then run and be processed from the Remote Server instead of your local machine.