
If you have already got a comma delimited .csv file that you use to establish your Project Sheet List then you can now import that CSV file into the Xporter Pro main data grid.
This way you can quickly pad out your preliminary Project Sheet Set using Xporter Pro and then synchronize back to your current Revit Project.
In order to do this click the Import Sheets button from the Revit RTVTools Ribbon as shown below.

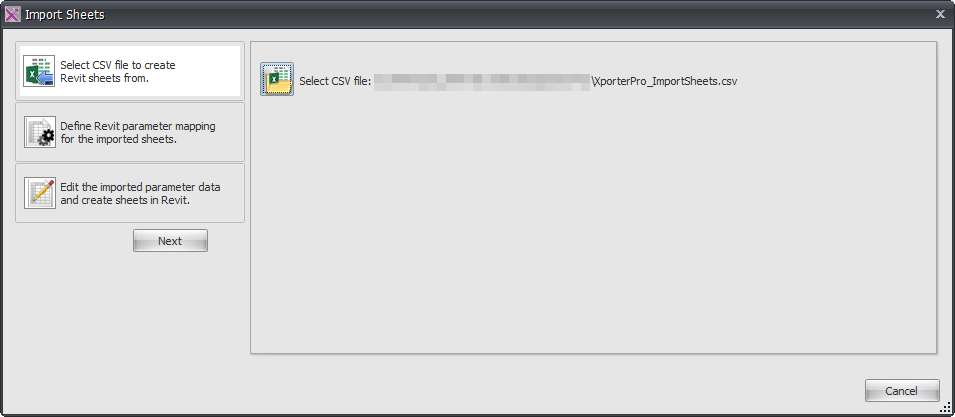
You will then see the Import Sheets dialog box appear requiring a 3-step process for the import.
Firstly define the CSV file to be used for Sheet creation then click the Next button to proceed with step 2.
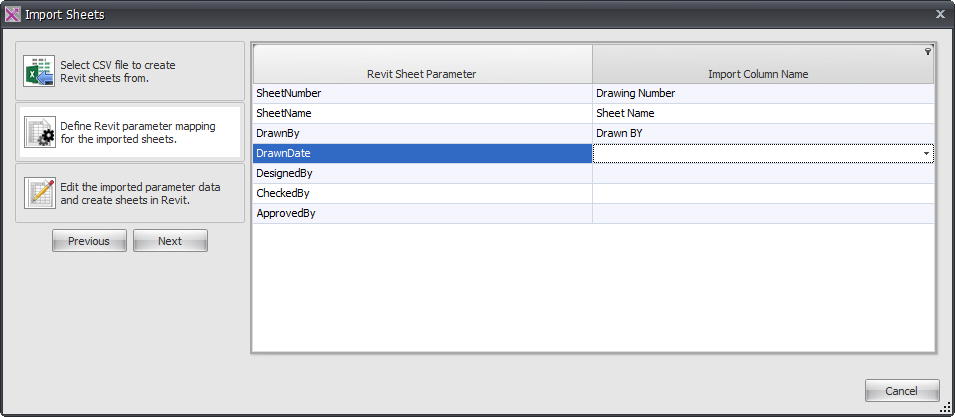
Secondly you must manually map the Xporter Pro Parameter Names to the corresponding Column Header from the CSV file then click Next to proceed with step 3.
Lastly the Import Sheets Data Grid will be populated and will be editable so that you can define appropriate Revit Titleblock families to be used for each sheet as well as entering values for the other sheet parameters if required.
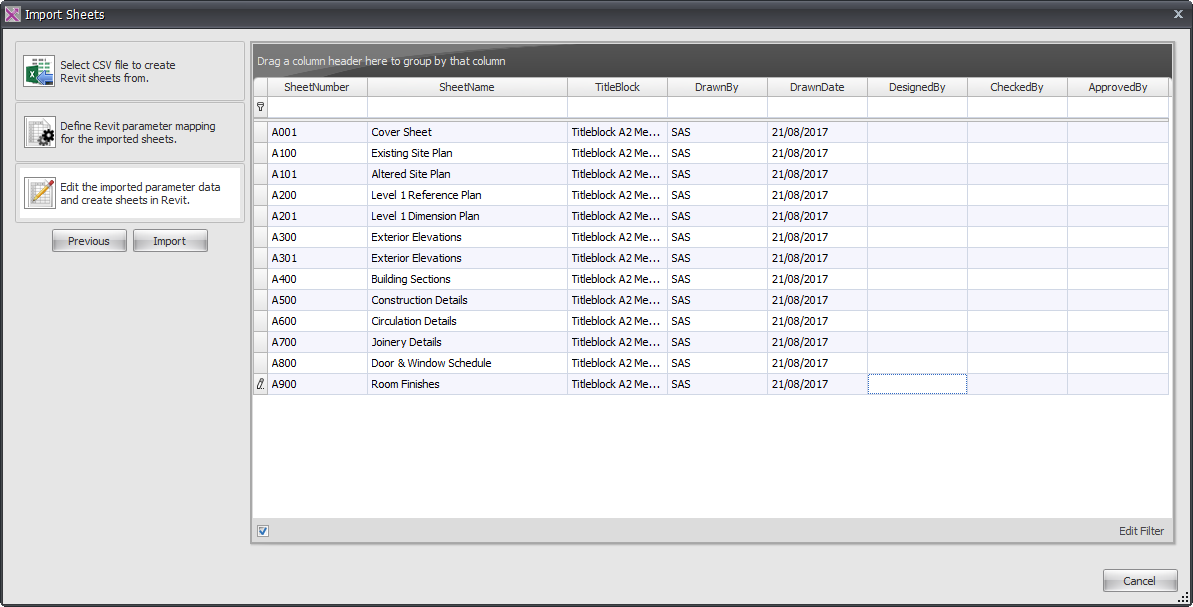
You can now click the Import button and you will be given the option to import selected (highlighted) sheets from the data grid, or you can select ALL sheets for Import.
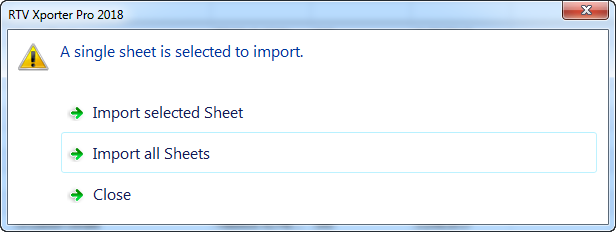
Then you should see the following confirmation dialog box for the Imported sheets.
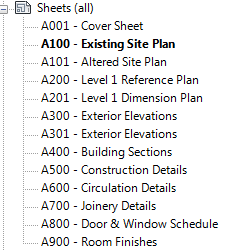
If you expand out the Sheets node of your Revit Project Browser you should then see the resulting Imported Sheets appear using the title blocks defined during the Import Sheet process.
Once the Imported Sheets are present in the Revit project then you can of course edit any of the sheet data when required using the Edit Sheet Data functionality of Xporter Pro.