
You can use this export option when needing to generate .rvz files from your Revit Project.
Firstly select the required Revit Sheets or Revit Views to be exported from the Xporter Pro main interface and then click the Export button from the ribbon.
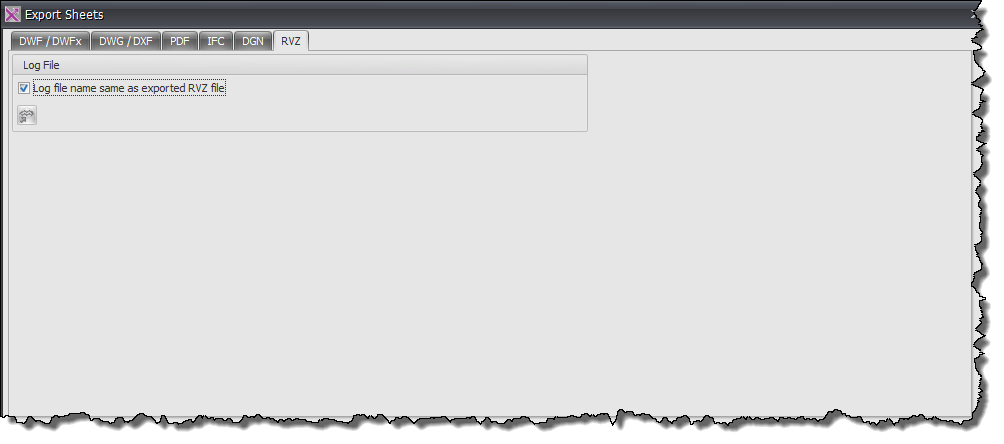
The top half of the Dialog box relate to the Log file generated for the resulting RVZ files as shown by the below image.
- Log File Name – if you want the log file to be named the same as the exported RVZ file then tick the checkbox.
- Browse for log file – to activate the browse button first un-tick the check box above, then click the Browse button and navigate to your RVZ log file to be used.
General Tab
- Folder Name Format panel – provide the means to define your Export folder output location and naming convention. Use the Format codes list to create the desired combination for the folder name or use the browse button to navigate to an existing folder location. If you want to use the same output folder for all file types then tick the checkbox below.
- File Naming Format – provide the means to determine your file naming convention. Use the Format codes list to create the desired combination for the file name template (a sample preview is given as a guide). If you want to use the same file naming syntax for all file format types then tick the checkbox below.
- Date Format – Use the date format options to select the required date format and date separator.
- Export Formats Panel – is where you select the required output formats by checking the required boxes
- Invalid Characters – if your file naming involves invalid characters tick the box for Xporter Pro to check and it will replace with the value entered such as a hyphen, dot, or underscore.
- Publish Panel – if you want the resulting exported files to be automatically uploaded to an FTP or FileShare site then tick the box and configure the FTP settings on the FTP tab etc.
- Create CSV Transmittal panel – provides the means to generate a CSV file to be used for aconex uploads. Click the Config button to configure which Revit parameters you want to use as Export parameters / columns in the resulting CSV file. Note that Xporter Pro will not actually perform the aconex upload.
- Export Configuration Settings panel – provides the means for you to save your selected export configuration settings to an .xml including folder and file naming conventions so that you can load the .xml file back again at a later date with all the settings.

FTP Tab
To find out more about the FTP tab for automatic uploads click here
Citrix ShareFile Tab
To find out more about the Citrix ShareFile tab for automatic uploads click here
Category: Xporter PRO