With Xporter Pro you can manage and track all your Sheet Issues using your own customized Document Transmittal forms.
You can enter as many recipients as you like and generate as many Issues as you like all of which are stored in the Xporter Pro SQL database outside of Revit. This provides you with a full history of all recipients and issues that can be tracked and re-printed if required.
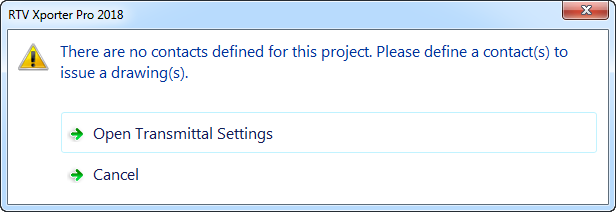
In order to start generating Issues you will first of all need to enter required Recipients to appear on the document transmittal. The first time you click the Issues button from the ribbon you will be prompted to do so as per below image and proceed to open the Transmittal Settings dialog box.
Note: in order to issue sheets you must assign each sheet an initial revision character as this is a required field. This can be a Number, Letter or even a hyphen so long as you define that in your revision sequence setup first.
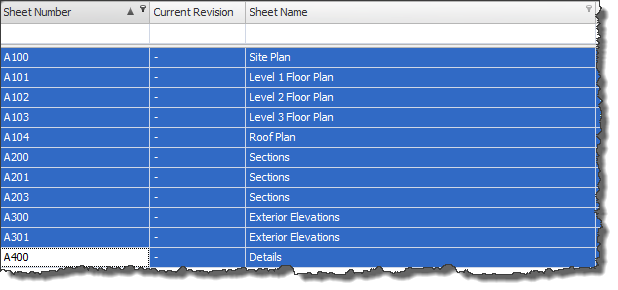
From the Revit Sheets Tab of main interface select the required sheets to be issued and then click the Issue button from the ribbon.
You will then be given the option to define Reference Projects if applicable or continue without Reference Projects as per below Dialog box.
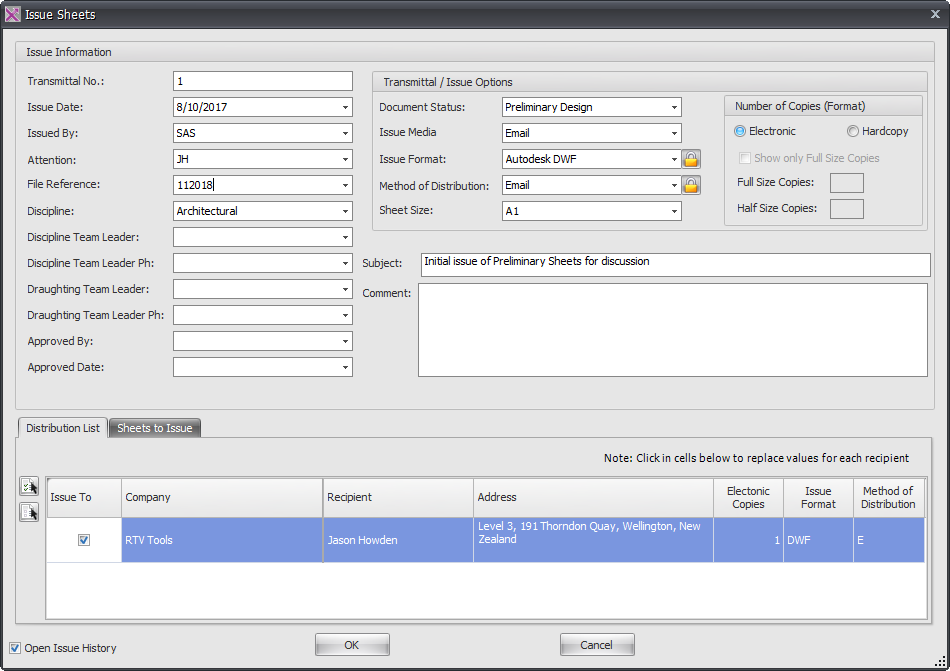
This will then launch the Issue Sheets dialog box whereby you enter the appropriate information for each issue using the options available. You do not have to make use of all available options if you don’t want to.
The Distribution List tab will display a full list of all recipients entered under the Transmittal Settings configuration however if you want to exclude specific recipients from a particular issue then untick them in the ‘Issue to’ column.
The Sheets to Issue tab provides you a confirmation list of the Sheets selected to be included with the current issue.
Click OK to proceed with the Sheet Issue and so long as the ‘Open Issue history’ check box is ticked (on by default) then the Issue Register Dialog box will be displayed.


